Hydroponic propagation is a great way to clone your plants whilst greatly reducing the changes of pests and diseases, but how does it work? Here's how:

Step 1:
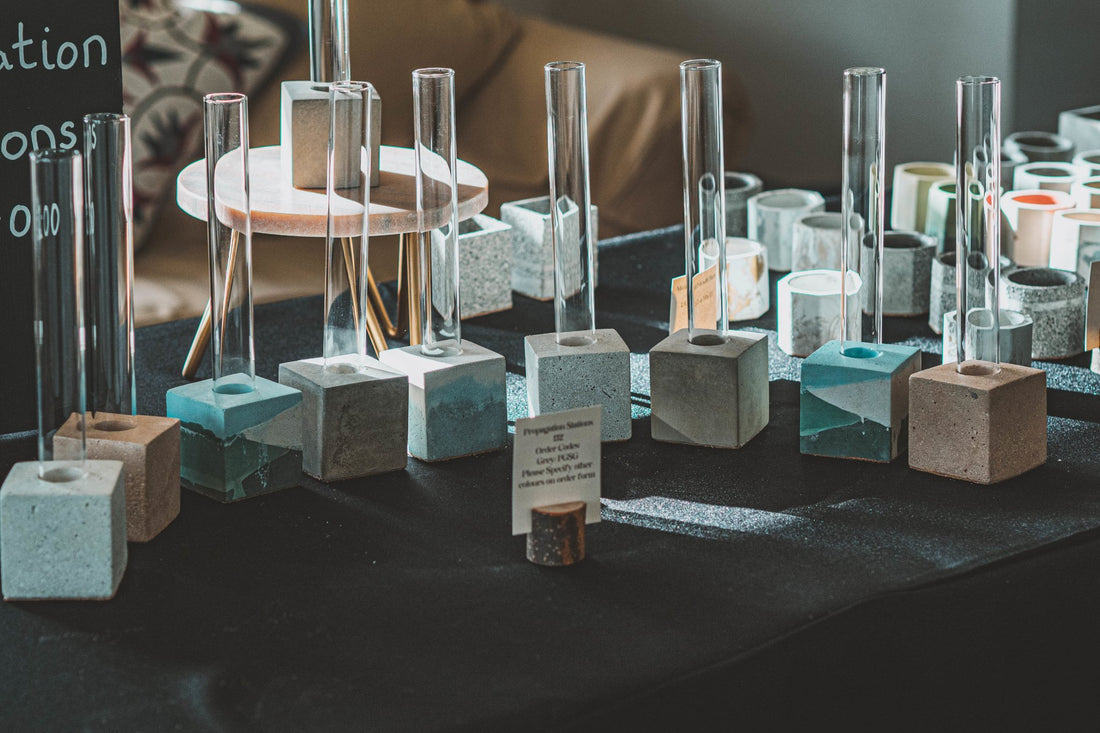
Your plant is only growing in one thing: water. So use tap water to fill up the glass tube. Make sure the water you're using is not to hot or cold so it won't risk damaging the glass. For an eco-alternative, you can use rainwater - although in my experience this increases the chance of rot and bacterial infections in your new cutting.
Step 2:
Take a shap, sterile pair of scissors and cut just under the node on the stem of the plant. The node normally presents itself where the leaf connects to the main stem. You will notice that there will be a slight bump on the stem where the connection is made. Once you have cut off the section of stem, you may wish to dab it in rooting hormone to give it an extra boost. If you do decide to use a hormone or a rooting accelerator I would suggest using Clonex Rooting Gel (it seems to give me the strongest roots).
Step 3:
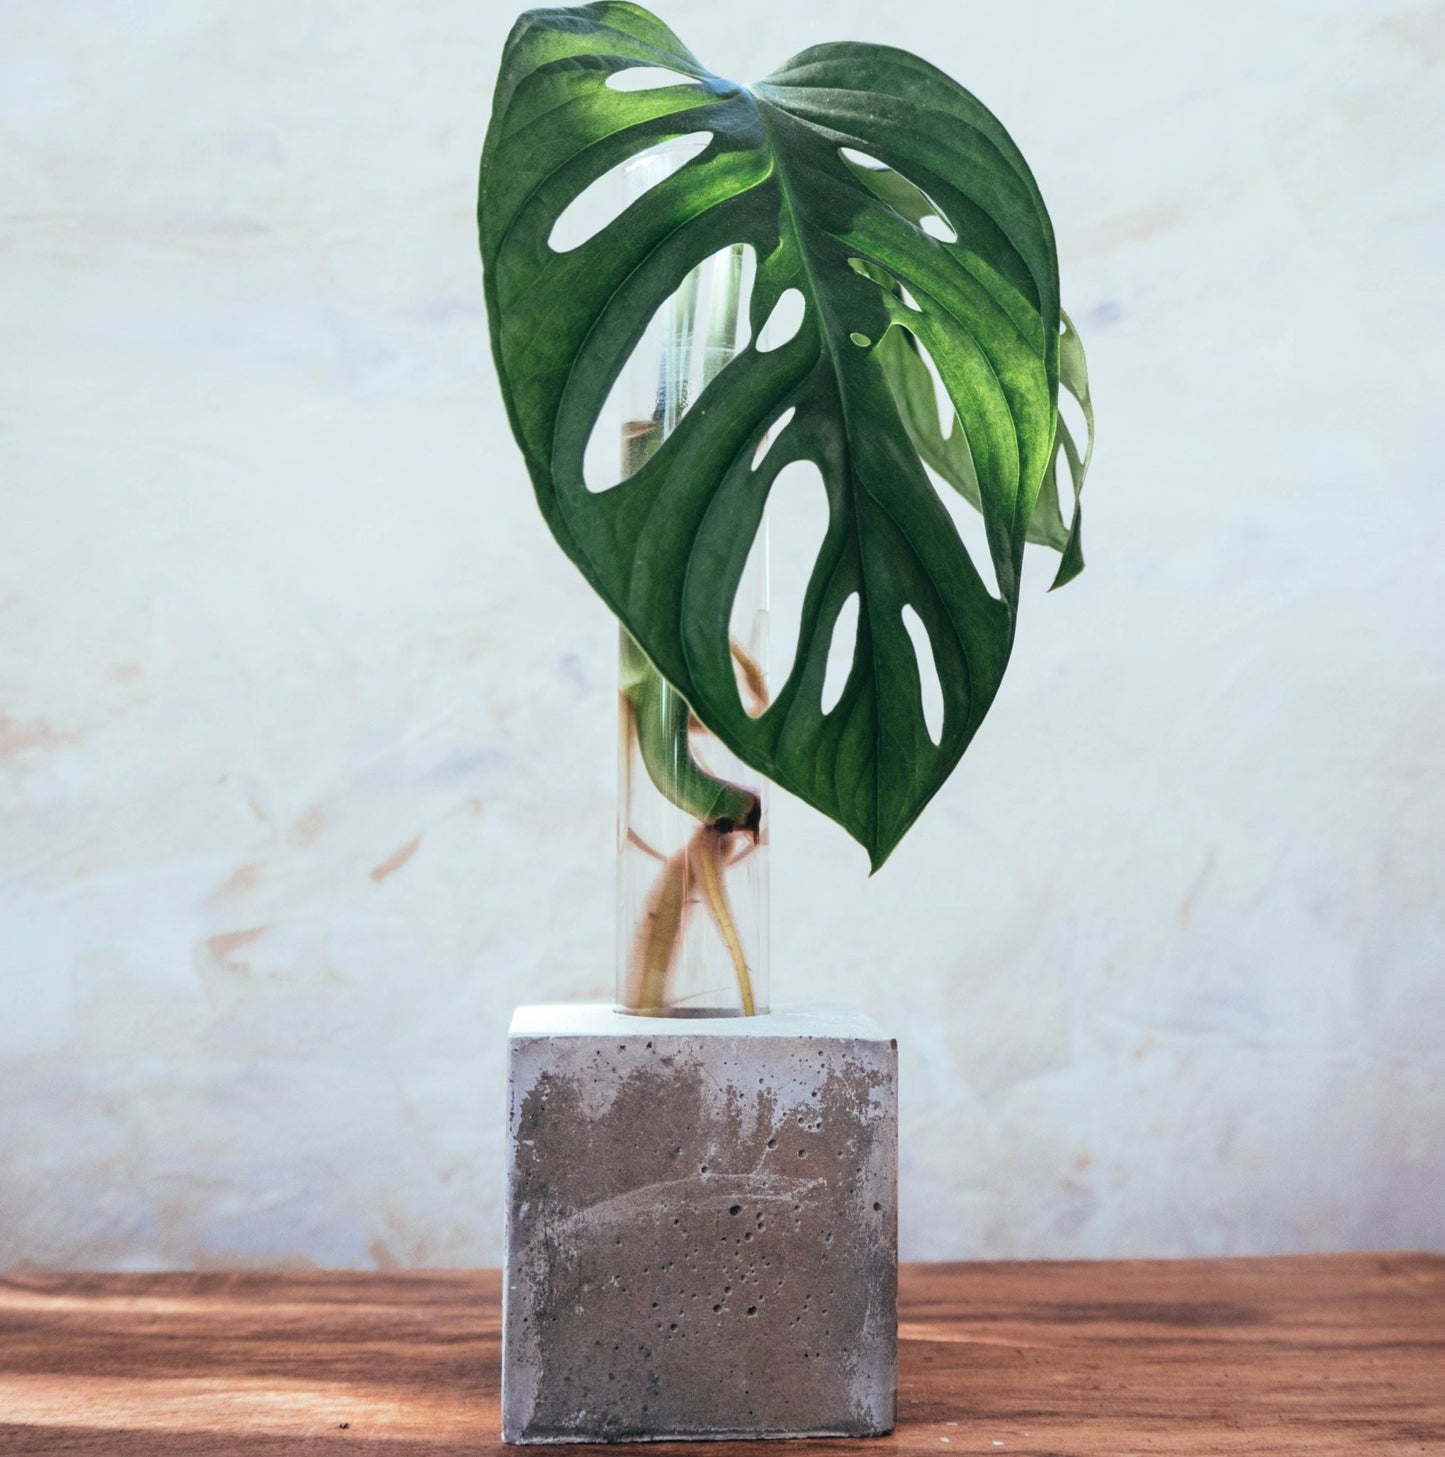
Place your cutting into the glass tube and display it in an area with bright-indirect light. It is important to note that any time a plant has a change of environment or is wounded it may display some stress signs. Your cutting may lose a leaf during this method - the ends might curl or have yellowing patches, but that's okay as the new leaves should come up looking healthy.
After a couple of weeks you might start to see roots forming in the tube. I would refrain from removing the cutting from the tube to not stress it out, and only plant up the cutting when the roots system is at least half the size of the cutting to ensure the best transition into soil.
Step 4:
Once the cutting has a healthy amount of roots you can start to transfer to soil. This is where a lot of cuttings don't make it- their water roots are delicate and not used to searching and pushing through the soil to find water. Try and use soil that has been sterilised to avoid rot. You may need to add in more nutrients to the soil if you do it this way.
Soil choice is also key - look up the soil types for your kind of plant. Some plants like compact soils or airy soils, or well draining substrates. As your cutting is used to having constant access to water, the soil needs to be well watered when you plant it up, and never let the soil dry out at this time.
An alternative method that has reduced the mortality of my hydroponic transfers is one popularised by Nishat Subah on her YouTube channel. You fill a jar with water and your cutting and over approximately two weeks you slowly add soil to the water. This at first seems like a risky method as it creates good conditions for diseases, but I have experimented with this method since January 2021 and have yet to have a cutting die on me this way. After the two weeks is up, the cutting should have adapted to its new conditions and is able to be transferred to a pot with the plant's ideal soil type. You can see Nishat's video here for a more detailed tutorial of this method.
Step 5:
Enjoy your new plant! It is an exact clone of the original plant, so it will keep the features you love about your favourite houseplant!