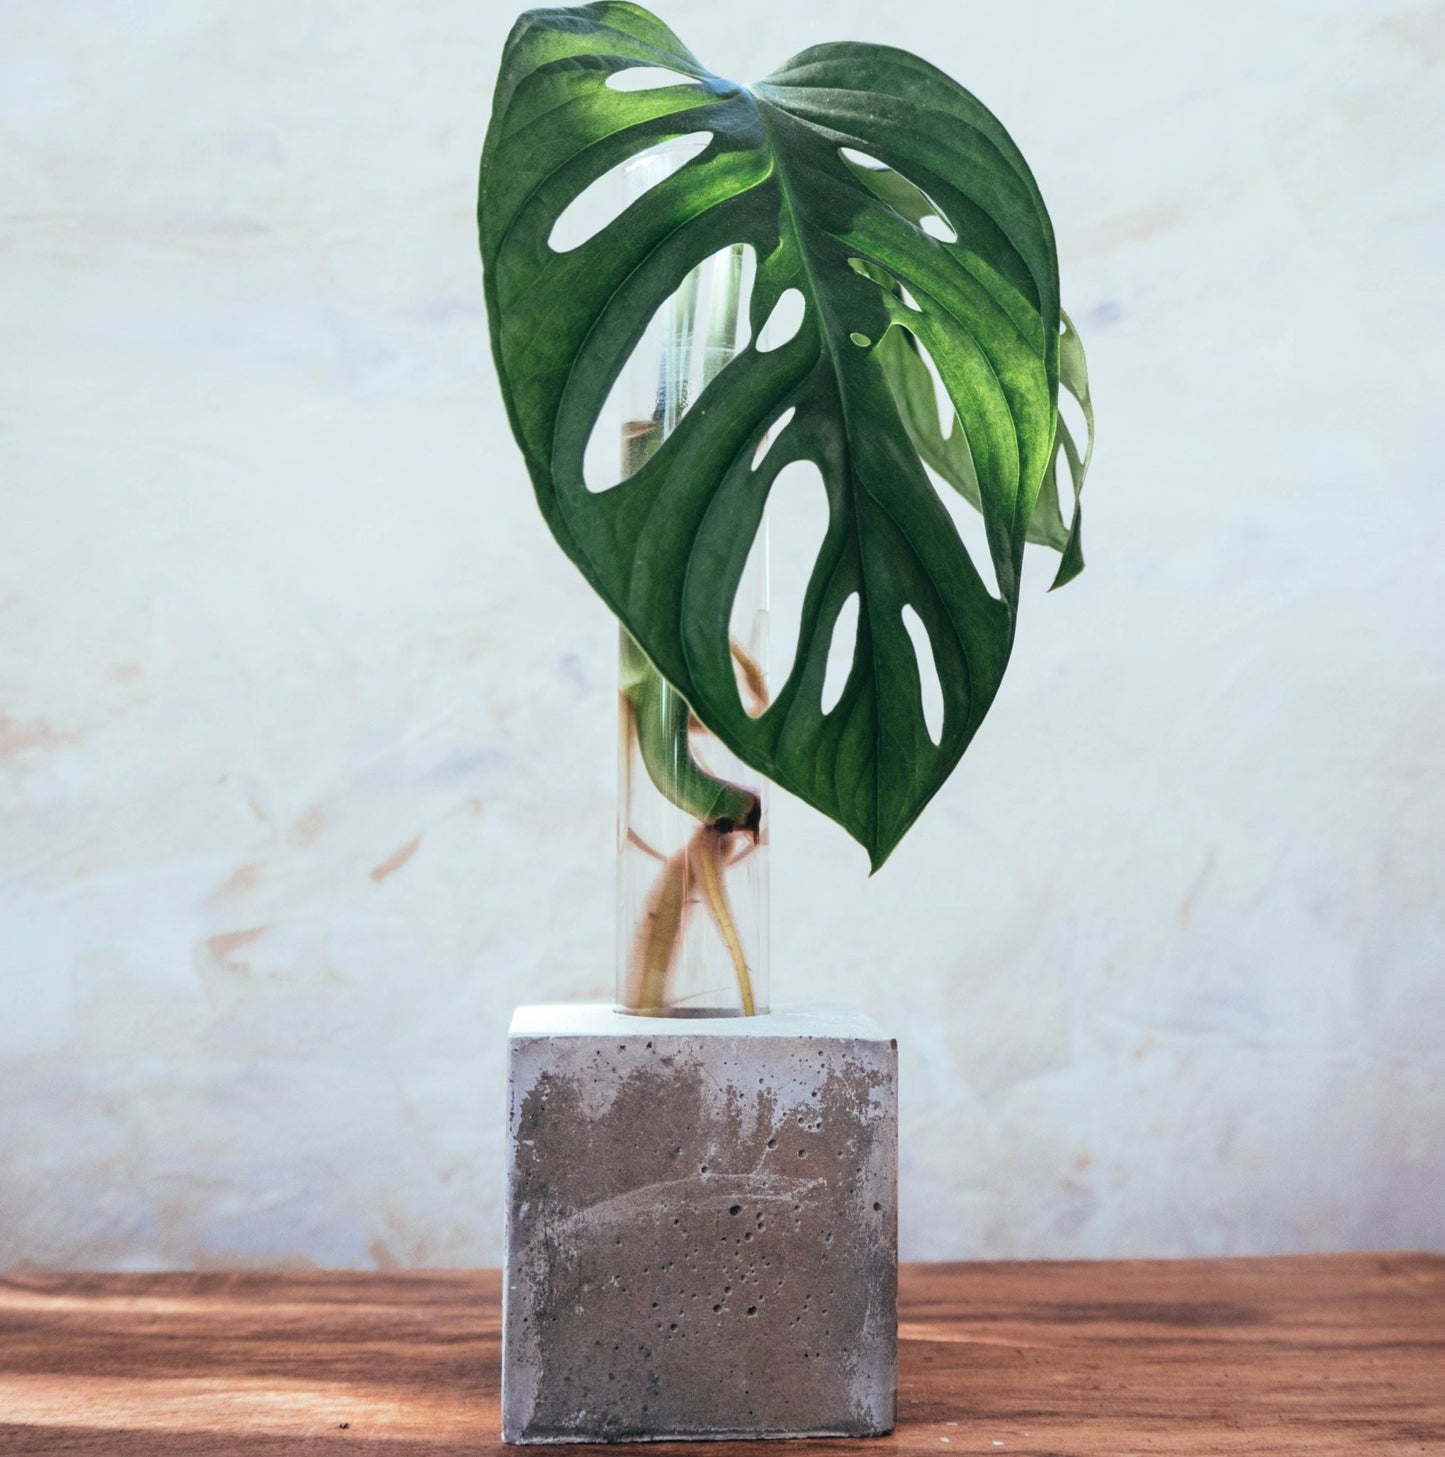

Creating Plant Pots for Forest Interior
Each pot takes around two weeks to create from being poured to ready to ship. My popular pots are restocked monthly and my more complicated designs are made to order (see product descriptions for more details).
Here is a rough guide to how each pot is made:

Step 1
I create my own special mix of concrete. For my recycled pots, I add in mostly crushed up broken pots to the mixture.

Step 2
Afterwards, I pour the mixture into the pot moulds. Each pot has to be shaken to reduce the amount of air bubbles in the mixture. It will take one to two days for the pots to become dry enough to be demoulded. Once that time is up I submerge them in water. This increases the cure time, which in turn strengthens the concrete. It also leeches a lot of lime from the planter, making it much safer for your plants.

Step 3
After seven days of curing in the water, I clean off any lime and calcium deposits and let the pots dry out. Once the pots are dry, they will be ready to be sanded.

Step 4
After sanding, some pots will need to have holes drilled in their base to allow water to pass through. As I add fiber to my pots to strengthen the mixture, any that are sticking out after sanding will need to be burnt off with a torch.

Step 5
The last part of the process begins with any pots that need painting. The paint has to be sealed and waterproofed for longevity. After that, the insides will be sealed and dried for three days. When it is fully dry the pot is ready for plants!
I always recommend planting into a plastic nursery pot and then place that into a concrete pot.